

Table of contents
- What is a Package Manager in Linux? 📦
- What is a Package? 📁
- Different Kinds of Package Managers and Usage 📚
- How to Install Docker on Ubuntu flavour:
- Step-by-Step Guide: How to Install Jenkins on Ubuntu
- How to Install Docker on CentOS: A Step-by-Step Guide
- 🚀 Installing Jenkins on CentOS 🐧
- 🐧🛠️ Systemd: systemctl vs. services - The Battle of Automation! 🤖🔥
- Conclusion
As a DevOps engineer, understanding package management and system control (systemctl) functions in Linux is crucial for efficient software deployment and system maintenance. In this blog post, we'll explore what a package manager is, what a package entails, and the different kinds of package managers available, along with simple examples to illustrate their usage. Let's dive in! 💻
What is a Package Manager in Linux? 📦
A package manager is a software tool in Linux that simplifies the process of installing, updating, and removing software packages on a system. It helps automate the handling of dependencies, ensuring that all required components are installed correctly.
What is a Package? 📁
A package is a software archive that contains all the necessary files, metadata, and instructions needed for the installation and operation of a specific software application on a Linux system. Packages are distributed in various formats, such as .rpm (Red Hat Package Manager) or .deb (Debian Package) based on the Linux distribution.
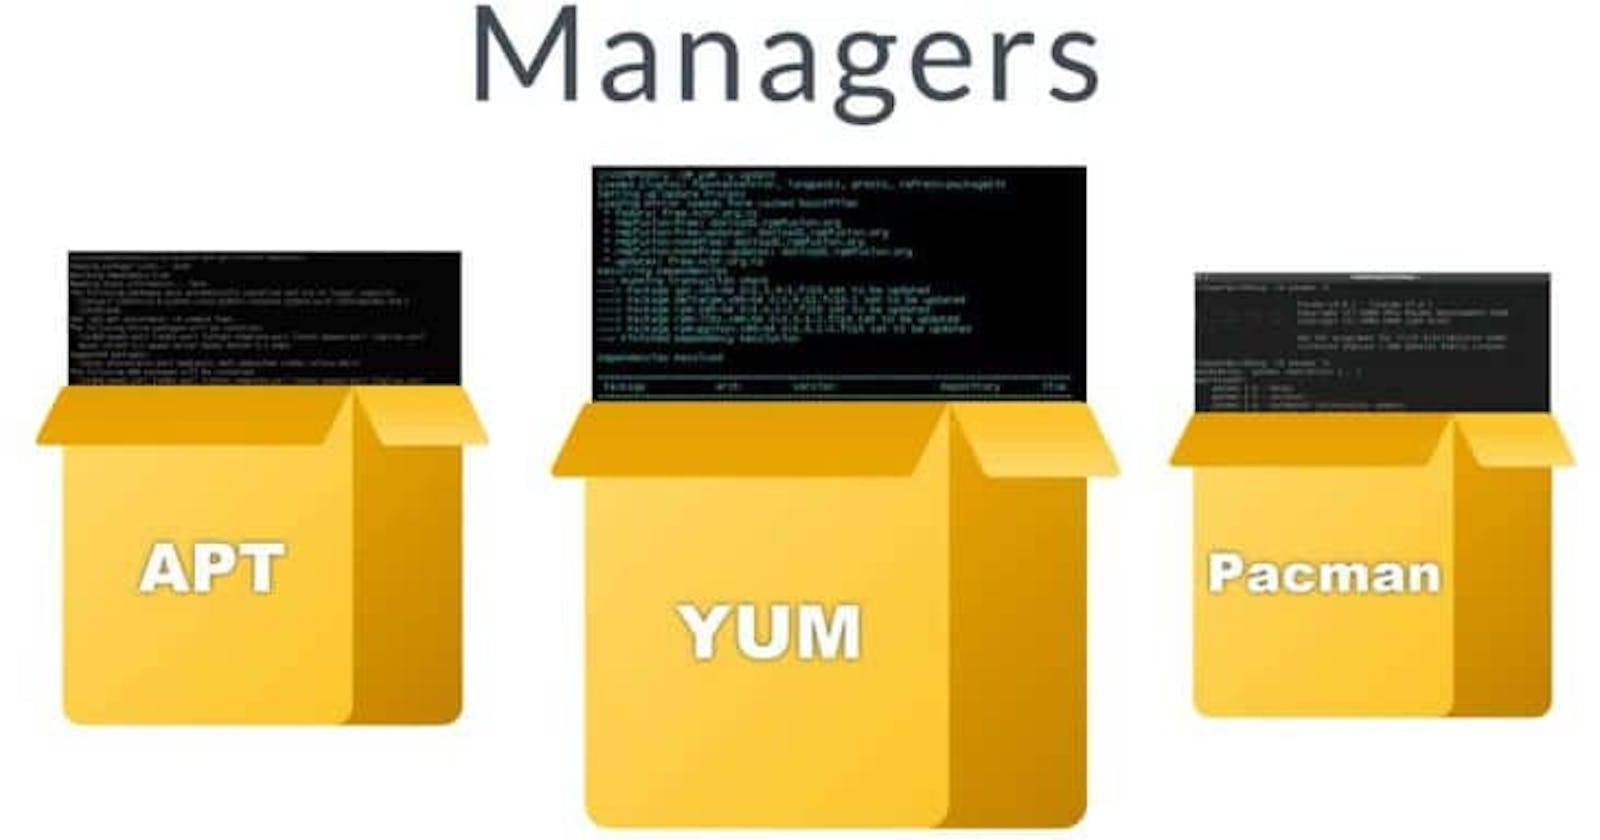
Different Kinds of Package Managers and Usage 📚
APT (Advanced Package Tool) 🎁:
Package Manager is used in Debian-based distributions like Ubuntu.
Usage: To install a package (e.g., Apache web server), use the following command:

DNF (Dandified Yum) 🍲:
Package Manager used in recent Fedora and CentOS versions.
Usage: To install a package (e.g., Node.js), use the following command:

YUM (Yellowdog Updater Modified) 🐕:
Package Manager is used in older versions of CentOS and Red Hat Enterprise Linux (RHEL).
Usage: To install a package (e.g., Nginx), use the following command:

Pacman 🐧:
Package Manager used in Arch Linux and its derivatives.
Usage: To install a package (e.g., Git), use the following command:

How to Install Docker on Ubuntu flavour:
Step 1: Update Package Index Open a terminal window (Ctrl + Alt + T) and ensure that the package index is up to date by running the following command:

Step 2: Install Required Dependencies Next, install the necessary packages to allow apt to use repositories over HTTPS:

Step 3: Update Package Index (Again) Update the package index again to include the newly added Docker repository:
Step 4: Install Docker Install Docker on your Ubuntu system using the following command:


Step 5: Start and Enable Docker Start the Docker service and enable it to start on boot:

Step 6: Verify Docker Installation Check that Docker is installed and running correctly by running a simple Docker command:
docker --version
This command should display the installed Docker version if the installation was successful.
Step 7: To check the docker status use the following command


To exit from the prompt ==> ctrl + c
Step 8: To stop the running docker use command:
sudo systemctl stop docker

Step-by-Step Guide: How to Install Jenkins on Ubuntu
Jenkins is a powerful open-source automation server that allows developers to automate their software development processes. It is widely used for continuous integration and continuous deployment (CI/CD) tasks. In this blog, we will walk you through the step-by-step process of installing Jenkins on an Ubuntu system.
Prerequisites
Before we begin, ensure that you have the following prerequisites:
An Ubuntu machine (preferably Ubuntu 18.04 or later).
Administrative access to the server.
A working internet connection.
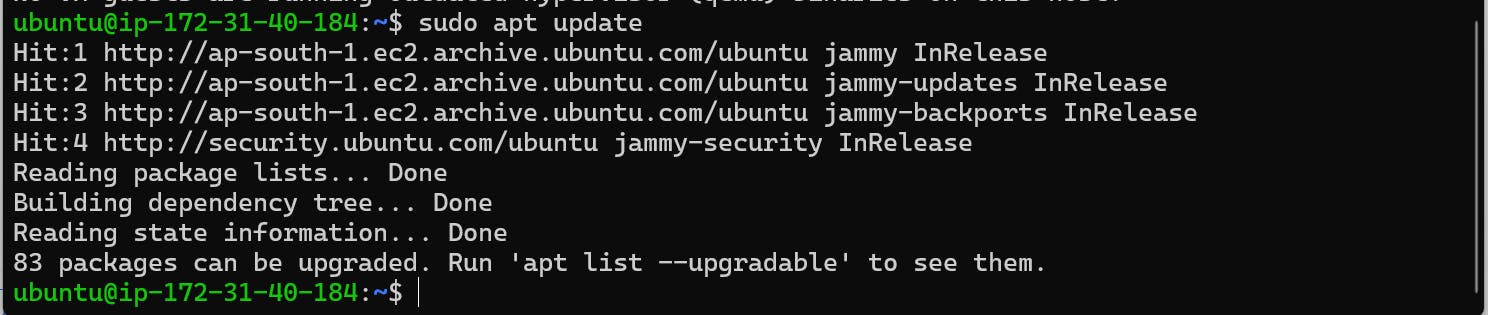
Step 1: Update System Packages
First, it's essential to update the system packages to their latest versions. Open a terminal and run the following commands:
sudo apt update
sudo apt upgrade
Step 2: Install Java Development Kit (JDK)
Jenkins requires Java to run, so let's install OpenJDK, which is the recommended Java version for Jenkins:

After the installation is complete, verify the Java version using:

Step 3: Add Jenkins Repository
Jenkins is not available in the default Ubuntu repositories, so we need to add the official Jenkins repository to the system. This will enable us to install Jenkins using apt.
 curl -fsSL https://pkg.jenkins.io/debian-stable/jenkins.io-2023.key | sudo tee \
   /usr/share/keyrings/jenkins-keyring.asc > /dev/null
 echo deb [signed-by=/usr/share/keyrings/jenkins-keyring.asc] \
   https://pkg.jenkins.io/debian-stable binary/ | sudo tee \
   /etc/apt/sources.list.d/jenkins.list > /dev/null

Step 4: Install Jenkins
Now that we have added the Jenkins repository, let's update the package list and install Jenkins:
sudo apt update
sudo apt install jenkins

During the installation, you'll be prompted to confirm adding the Jenkins repository key. Press 'OK' to proceed.
Step 5: Start Jenkins Service
After the installation is complete, Jenkins service should start automatically. However, you can use the following commands to check the status and start the service:
sudo systemctl status jenkins
If the service is not running, start it with:
sudo systemctl start jenkins
To enable Jenkins to start on system boot:
sudo systemctl enable jenkins
Status:

To Stop the jenkins use command: sudo systemctl stop jenkins

How to Install Docker on CentOS: A Step-by-Step Guide
Introduction: Installing Docker on CentOS is a straightforward process, and in this guide, we'll walk you through the steps to set it up on your CentOS system.
Step 1: Update System Packages Before installing Docker, ensure your system's package manager is up to date. Open a terminal and run the following commands:
sudo yum update
Step 2: Install Required Dependencies Docker requires some additional packages to work correctly. Install them using the following command:
sudo yum install -y yum-utils device-mapper-persistent-data lvm2
Step 3: Add Docker Repository Next, add the official Docker repository to your CentOS system:
sudo yum-config-manager --add-repo https://download.docker.com/linux/centos/docker-ce.repo
Step 4: Install Docker Engine Once the repository is added, you can proceed to install Docker on your CentOS machine:
sudo yum install -y docker-ce
Step 5: Start and Enable Docker Service After the installation is complete, start the Docker service and enable it to start on system boot:
sudo systemctl start docker
sudo systemctl enable docker
Step 6: Verify Docker Installation To confirm that Docker is correctly installed, run the following command:
docker --version
This will display the installed Docker version if the installation was successful.
Step 7: Allowing Non-root Users to Use Docker (Optional) By default, only the root user can run Docker commands. If you want to allow a non-root user to use Docker, you can add the user to the 'docker' group:
sudo usermod -aG docker your_username
Remember to replace 'your_username' with the actual username of the non-root user.
Step 8: Test Docker with a Simple Container To ensure that Docker is functioning correctly, you can run a simple test container. For instance, use the 'hello-world' image:
docker run hello-world
Docker will download the 'hello-world' image (if not available locally) and run a container based on it. You should see a message indicating that Docker is working correctly.
🚀 Installing Jenkins on CentOS 🐧
Welcome fellow DevOps enthusiasts! Today, we're going to embark on an exciting journey and learn how to install Jenkins on CentOS with the help of some awesome emojis to keep things fun! 😎
⚙️ Step 1: Prepare the Environment Before we begin, make sure you have a CentOS server up and running. Update your system to ensure you have the latest packages:
sudo yum update 🔄
⚙️ Step 2: Install Java ☕ Jenkins runs on Java, so let's get it installed. We'll use OpenJDK for this guide:
sudo yum install java-1.8.0-openjdk 🛠️
⚙️ Step 3: Add Jenkins Repository 🏗️ Next, we'll add the Jenkins repository to our system:
sudo wget -O /etc/yum.repos.d/jenkins.repo https://pkg.jenkins.io/redhat-stable/jenkins.repo 📦
sudo rpm --import https://pkg.jenkins.io/redhat-stable/jenkins.io.key 🔑
⚙️ Step 4: Install Jenkins 🚀 With the repository added, we can now install Jenkins:
sudo yum install jenkins 🚀
⚙️ Step 5: Start Jenkins 🏁 Jenkins is installed, but it's not running yet. Let's start the service and enable it to start on boot:
sudo systemctl start jenkins ▶️
sudo systemctl enable jenkins 🔄
⚙️ Step 6: Access Jenkins 🌐 By default, Jenkins listens on port 8080. Open your favorite web browser and enter the following URL:
http://your_server_ip_or_domain:8080 🌐
⚙️ Step 7: Unlock Jenkins 🔓 Upon visiting the Jenkins URL, you'll be asked for an initial admin password. Retrieve it from the Jenkins server:
sudo cat /var/lib/jenkins/secrets/initialAdminPassword 🔐
Copy the password and paste it into the Jenkins web interface.
⚙️ Step 8: Install Recommended Plugins 🧩 Jenkins will provide you with plugin installation options. Choose the "Install suggested plugins" option to get started quickly.
⚙️ Step 9: Create Admin User 🤓 Fill in the required details to create an admin user for Jenkins.
⚙️ Step 10: Jenkins Ready! 🎉 Congratulations! You've successfully installed Jenkins on CentOS! 🎉 Now, you can start building and automating your CI/CD pipelines to streamline your development process.
🐧🛠️ Systemd: systemctl vs. services - The Battle of Automation! 🤖🔥
As a DevOps engineer, managing services on a Linux system is a crucial task. Two popular tools that dominate this arena are systemctl and services. Each brings its unique set of features and capabilities to the table, making them essential choices for automation and service control. Let's dive into this epic battle of automation tools, where emojies will help us visualize their strengths and weaknesses! 🏆💪
🔹 systemctl: The King of Modernization 👑
systemctl is part of the systemd init system, which is the default on many modern Linux distributions. It revolutionized the way services are managed and brought standardization and centralized control to the system. 🚀
👍 Pros of systemctl:
📊 Advanced Service Control: With commands like
start,stop,restart, andstatus, managing services is a breeze.🕒 Service Dependency Management: Handle service dependencies effortlessly, ensuring the right order of starting and stopping services.
📜 Journaling: Access detailed logs using
journalctl, making troubleshooting a joy.🛠️ Unit Files: Customize service behavior with unit files, enabling precise control and configuration.
👎 Cons of systemctl:
🐌 Learning Curve: Embracing systemd's advanced features might be overwhelming for newcomers.
❌ Compatibility: Older systems may not have systemd, limiting the use of
systemctl.
🔹 services: The Battle-Tested Warrior ⚔️
Traditional system administrators and DevOps professionals have long relied on the services command for managing services. It's present on various Unix-like systems, making it a reliable choice for cross-platform support. 🗡️
👍 Pros of services:
🚀 Simple and Familiar: Easy to use, especially for those who have worked with older Unix systems.
⚙️ Cross-Platform Support: Available on various Unix-like systems, providing consistent service management across environments.
👎 Cons of services:
⏳ Limited Features: Lack of advanced features compared to
systemctl, restricting fine-grained control.🗃️ Non-standardized Output: Output formats can vary, making automation more challenging.
🔒 Security Concerns: Services are often managed with
sudo, potentially exposing security risks.
🤔 Who Wins the Battle?
The winner depends on your specific needs and the environment you're working in. If you're on a modern Linux distribution and prioritize advanced features and control, systemctl is undoubtedly the way to go. On the other hand, if cross-platform compatibility and simplicity are your primary concerns, services remains a reliable choice.
🏁 The Ultimate Alliance:
As the DevOps landscape evolves, embracing both systemctl and services might be a wise approach. Leverage the strengths of each tool to create a versatile and robust service management strategy. Whether you're a fan of modernization or an advocate for battle-tested simplicity, both systemctl and services play significant roles in the realm of automation. 🤝🌐
Remember, the best tool for the job is the one that best suits your specific use case and the needs of your infrastructure. Happy automating! 🤖💻
Some most common day to day used commands of systemctl and services as a Devops engineer
As a DevOps engineer, you'll frequently work with system services and their management on Linux systems. The most commonly used systemctl commands and service-related commands in the real world include:
Start a service: systemctl start
Stop a service: systemctl stop
Restart a service: systemctl restart
Reload configuration of a service: systemctl reload
Enable a service at boot: systemctl enable
Disable a service at boot: systemctl disable
Check the status of a service: systemctl status
View the service's log: journalctl -u
List all active services: systemctl list-units --type=service
List all installed services: systemctl list-unit-files --type=service
Conclusion
In conclusion, as a DevOps engineer, understanding package managers and systemctl functions is essential for efficient management of software packages and services across various Unix flavors like Ubuntu and CentOS.
Package managers serve as powerful tools that simplify the installation, update, and removal of software packages. Ubuntu, utilizing the Advanced Package Tool (APT), streamlines package management through a straightforward command-line interface. CentOS, on the other hand, employs Yellowdog Updater Modified (YUM) or Dandified YUM (DNF), providing a reliable method for package handling and resolving dependencies.
Systemctl, the service manager, is a fundamental component for controlling system services. Its versatile commands enable us to start, stop, restart, reload, enable, and disable services as needed.
That's all from my end!
Thank you for taking the time to read this blog. I hope you found the information helpful and insightful. So please keep yourself updated with my latest insights and articles on DevOpsJourney 🚀 by following me on : LinkedIn & Hasnode.
#devopsjourney #trainwithshubham #devopscommunity #linux #shellscripting
#90daysofdevops #packagemanger #systemctlfunctions