Deploying a Sample Todo-App on Kubernetes with Auto-Healing and Auto-Scaling | Day 32 | 90days of DevOps


What is Deployment in K8s?
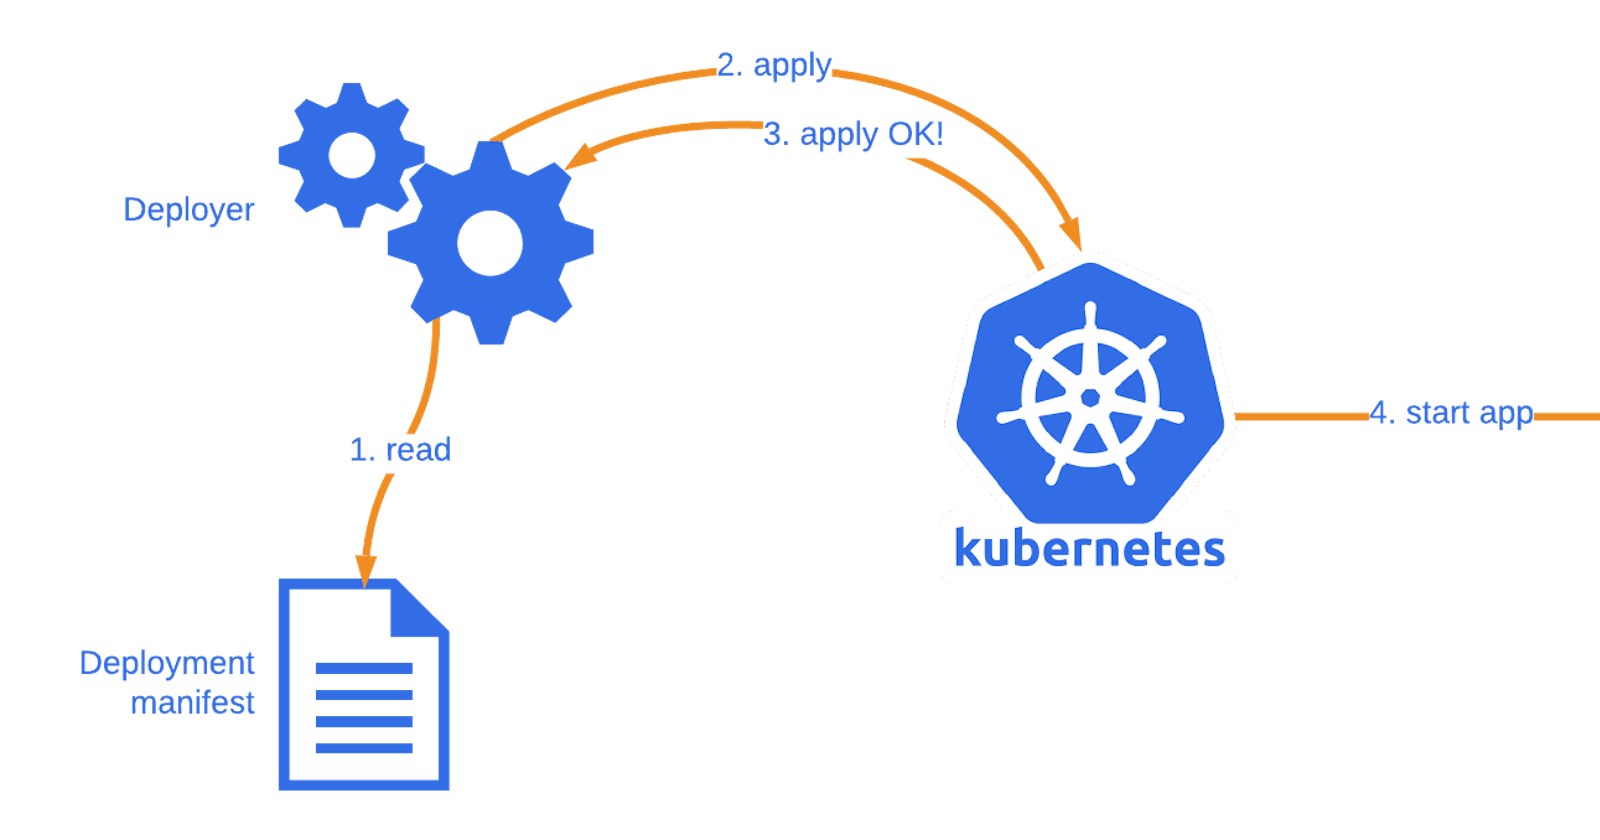
Deployment in Kubernetes (K8s) is a critical concept for DevOps engineers. It is a declarative way to manage and scale containerized applications. A Kubernetes Deployment defines an application's desired state, including the number of replicas, the container image to use, and other specifications. The Kubernetes control plane then ensures that the actual state of the application matches the desired state, making it a robust and efficient solution for application deployment and scaling. Deployments also provide features like rolling updates and rollback capabilities, making it easier to manage application changes while maintaining high availability and reliability in a containerized environment. This declarative approach simplifies the management of complex applications and is a fundamental building block in modern DevOps practices.
Prerequisites
Before we dive into deploying our todo-app, you need to have a Kubernetes cluster up and running. For this tutorial, we'll be using Minikube, a tool that sets up a single-node Kubernetes cluster on your local machine. If you haven't already installed Minikube, you can do so using kubeadm_installation.md.
Step 1: Create a Deployment YAML File
We need to create a YAML file to describe how our application should be deployed. Here's a sample deployment.yml file for our todo-app:
apiVersion: apps/v1
kind: Deployment
metadata:
  name: nginx-deployment
spec:
  replicas: 3
  selector:
    matchLabels:
      app: nginx
  template:
    metadata:
      labels:
        app: nginx
    spec:
      containers:
        - name: nginx
          image: nginx:1.14.2
          ports:
            - containerPort: 80
Step 2: Apply the Deployment
Now, we can apply our deployment to the Kubernetes cluster using the kubectl apply command:
kubectl apply -f deployment.yml
This command tells Kubernetes to create and manage the specified resources, in this case, our todo-app deployment. It will create three replicas of our app, ensuring high availability.

Verify that pods are running by running the command:
kubectl get pods -n nginx
You should see something like this:

Step 3: Enable Auto-Scaling and Auto Scaling for the Deployment:
To enable auto-healing and auto-scaling for our Deployment, follow these steps:
- To enable auto-healing, we don’t need to do anything special. Kubernetes already does this by default for Deployments. If a container crashes or a node fails, Kubernetes will automatically create a new Pod and assign it to a healthy node.
To test this feature, you can manually delete one of your Pods by running:
kubectl delete pod -n nginx <pod-name>
Replace <pod-name> with the name of one of your Pods that you want to delete.
You should see something like this:

If you check your Pods again by running kubectl get pods -n nginx, you should see that a new Pod has been created to replace the deleted one.
You should see something like this:

- To enable auto-scaling, we need to create a Horizontal Pod Autoscaler (HPA) object that defines how we want to scale our Deployment based on CPU utilization or other metrics.
To create an HPA object that scales our Deployment between 1 and 5 replicas based on CPU utilization, run:
kubectl autoscale deployment nginx-deployment -n nginx --min=1 --max=5 --cpu-percent=50
This will create an HPA object named todo app that monitors the average CPU utilization of our Pods and adjusts the number of replicas accordingly.
You should see something like this:

To verify that the HPA is created, run:
kubectl get hpa -n nginx
You should see something like this:

This shows that you have one HPA named todo-app that targets the Deployment todo-app with a minimum of 1 and a maximum of 5 replicas, and a target CPU utilization of 50%.
To see the current CPU utilization and the desired number of replicas, run:
kubectl get hpa -w
This will show you the HPA status in a watch mode, which updates every few seconds. This shows that the current CPU utilization is 0% and the current number of replicas is 2
To test the auto-scaling feature, you can generate some load on your Pods by running:
kubectl run -it --rm load-generator --image=busybox /bin/sh
This will create a temporary Pod named load-generator that runs a shell in an interactive mode.
In the shell, run the following command:
while true; do wget -q -O- http://todo-app.default.svc.cluster.local; done
This will send an infinite loop of requests to the ToDo app service.
In another terminal, watch the HPA status by running:
kubectl get hpa -w
You should see that the CPU utilization increases and the number of replicas changes accordingly.
This shows that the HPA has scaled up the number of replicas to 5 to handle the increased load.
To stop the load generator, press Ctrl+C in the shell and exit.
You should see that the CPU utilization decreases and the number of replicas changes accordingly.
This shows that the HPA has scaled down the number of replicas to 1 to save resources.
Congratulations! You have successfully enabled auto-healing and auto-scaling for your Deployment.
Conclusion
Congratulations! You've successfully deployed a sample nginx app on Kubernetes with Auto-Healing and Auto-Scaling features. This ensures your application remains resilient and responsive in a dynamic environment. Kubernetes is a powerful platform for managing containerized applications, and these features are just the tip of the iceberg.